I recently tried my hand at making a pallet angel.
The task seemed daunting but was actually not that complicated or difficult. I must admit that I had quite a bit of help from my wonderful husband.
I started by looking at a whole lot of outline / stencil type of angel pictures. I was looking for a basic design that i could tweak a bit to make it pallet appropriate.
Once I had general idea of what I wanted, I proceeded to draw my design onto the pallet. The most important part here was that I used a pencil. Getting the design onto the pallet wasn't a first time try. I changed it slightly and adjusted the sizes and proportions as I went. I wrote lightly to make all the erasing easier. When I was happy with the design it was easy to go over it to make it darker and easier to see when cutting it out.
I didn't dismantle the pallet first. Before pulling out my jigsaw I re-looked at the design and imagined cutting it. I then marked the pieces that would be discarded, and the pieces that would make up the different wings. I didn't want to start cutting and at the end sit there trying to reassemble everything like a puzzle.
At this point my wonderful husband stepped in and said that he would cut it out for me. I wasn't about to look a gift horse in the mouth and so leaped at the offer.
Aaa....

Once cut out, the main body needed to be dismantled from the rest of the pallet. With the back end of the hammer and a bit of careful wiggling hubby had it dismantled in no time.
I took all the pieces outside and proceeded to give them a good sanding. I made sure to keep the relevant pieces together; left wing, main body and right wing.
I reassembled the pieces on the floor and then turned them around so that the back of the angel was facing me. Because I had designed and cut the design straight from the pallet I spaced them appropriately. The original pallet had slight gaps between the planks and so when I reassembled it I lined up the cutting edges so that they would be straight and have those same gaps. Looking at the wings I noticed the gaps were not all that necessary and decided to place those pieces next to each other, it also made it more secure that way.
The task seemed daunting but was actually not that complicated or difficult. I must admit that I had quite a bit of help from my wonderful husband.
I started by looking at a whole lot of outline / stencil type of angel pictures. I was looking for a basic design that i could tweak a bit to make it pallet appropriate.
Once I had general idea of what I wanted, I proceeded to draw my design onto the pallet. The most important part here was that I used a pencil. Getting the design onto the pallet wasn't a first time try. I changed it slightly and adjusted the sizes and proportions as I went. I wrote lightly to make all the erasing easier. When I was happy with the design it was easy to go over it to make it darker and easier to see when cutting it out.
I didn't dismantle the pallet first. Before pulling out my jigsaw I re-looked at the design and imagined cutting it. I then marked the pieces that would be discarded, and the pieces that would make up the different wings. I didn't want to start cutting and at the end sit there trying to reassemble everything like a puzzle.
At this point my wonderful husband stepped in and said that he would cut it out for me. I wasn't about to look a gift horse in the mouth and so leaped at the offer.
Aaa....
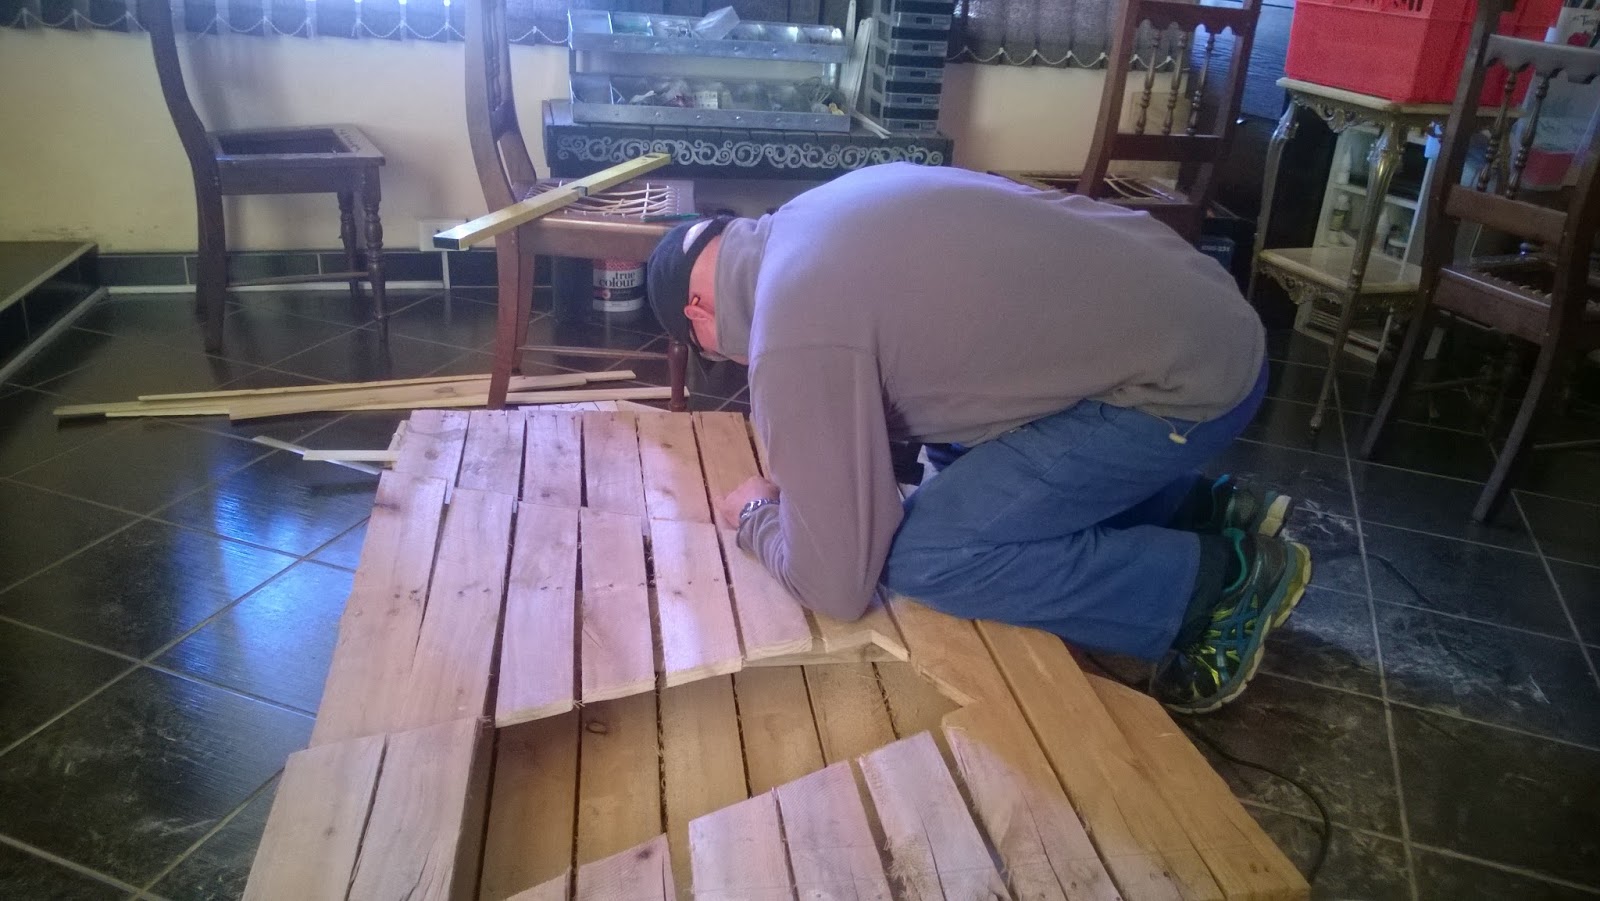
Once cut out, the main body needed to be dismantled from the rest of the pallet. With the back end of the hammer and a bit of careful wiggling hubby had it dismantled in no time.
I took all the pieces outside and proceeded to give them a good sanding. I made sure to keep the relevant pieces together; left wing, main body and right wing.
I reassembled the pieces on the floor and then turned them around so that the back of the angel was facing me. Because I had designed and cut the design straight from the pallet I spaced them appropriately. The original pallet had slight gaps between the planks and so when I reassembled it I lined up the cutting edges so that they would be straight and have those same gaps. Looking at the wings I noticed the gaps were not all that necessary and decided to place those pieces next to each other, it also made it more secure that way.

Then with my husbands help we measured and cut planks to attach to the back of the angel, to keep it all together and make it sturdy. We then glued and nailed the planks to the pallets. I had forgotten to take many pictures during this whole process but here we were busy with the gluing and nailing step.
When everything was attached , secured and dry I turned her over and took a moment to admire our handiwork. We then measured and cut planks to attach to the front as her arms. We then glued and nailed her arms in place. I'm not sure at what point this project became a she but there it is.
When her arms were attached and dry I started to varnish her. She is an outdoor project so I applied outdoor varnish according to the manufacturers instructions. With hindsight it would probably have been easier to varnish before attaching her all together.

When all the coats were painted and dried I asked hubby to help me attach the clamp. He carefully used a hammer and nail to punch two small holes in the clamp and then screwed it into a pallet piece.
I washed and cleaned up an empty coffee jar to use as the vase. The clamp was a little tight/stiff but with a bit of careful elbow grease I securely attached the make shift vase.

Yay! All done and very impressed.
All she needs now is some flowers and to be displayed.